Your Cart
No products in the cart.
Start shopping
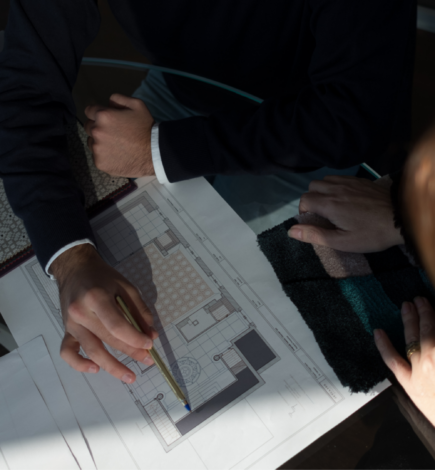
Interiors photography carries with it the challenge of communicating an almost unalterable reality that stays true to what our eyes see.
Many interior designers find it difficult to transmit the true colours, lights, shadows and angles of their main creations through photography.
This is why we present you some professional tips to photograph your creation, preserving its essence.
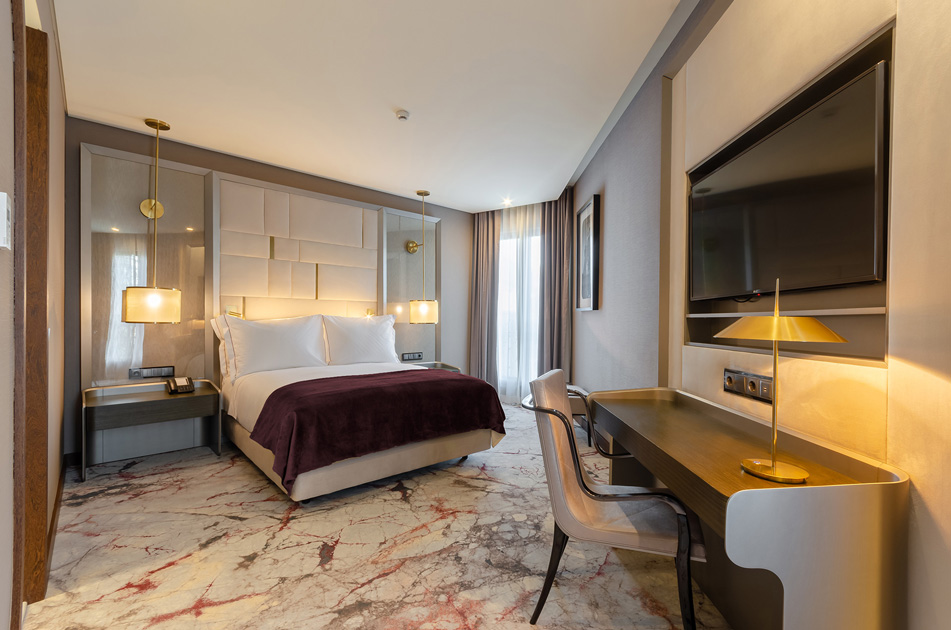
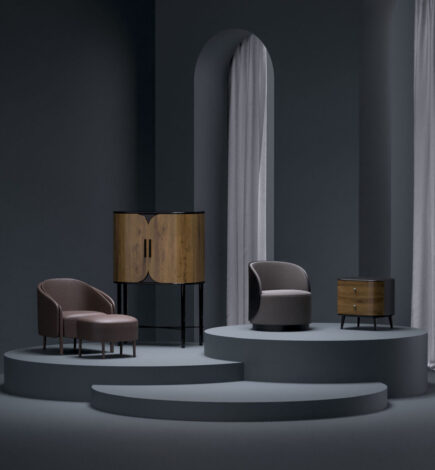
Turim Boulevard Hotel , Lisbon, Portugal
Looking, observing and analysing the space around you is essential when photographing ambiances. This first step can take some time, but it will allow you to understand the light sources, the different perspectives of the place and the best angles to explore.
To help you, let yourself be inspired by the space and think about what you want people to feel when they see what you’ve created.
Just as lighting is fundamental in interior design, when it comes to photography, light is the differentiating factor that gives the same space a completely different look.
Balancing the light sources is the key to avoid imbalances and inconsistencies in the final result.
Natural light helps you to maintain the reality of the colours in your project, but it can create unwanted designs and shadows.
The secret is to define what you want that space to convey. If peace, tranquility and calm is what you want the audience to feel, opt for morning light. If that space breathes a late afternoon with friends and family, sunset should be your choice.
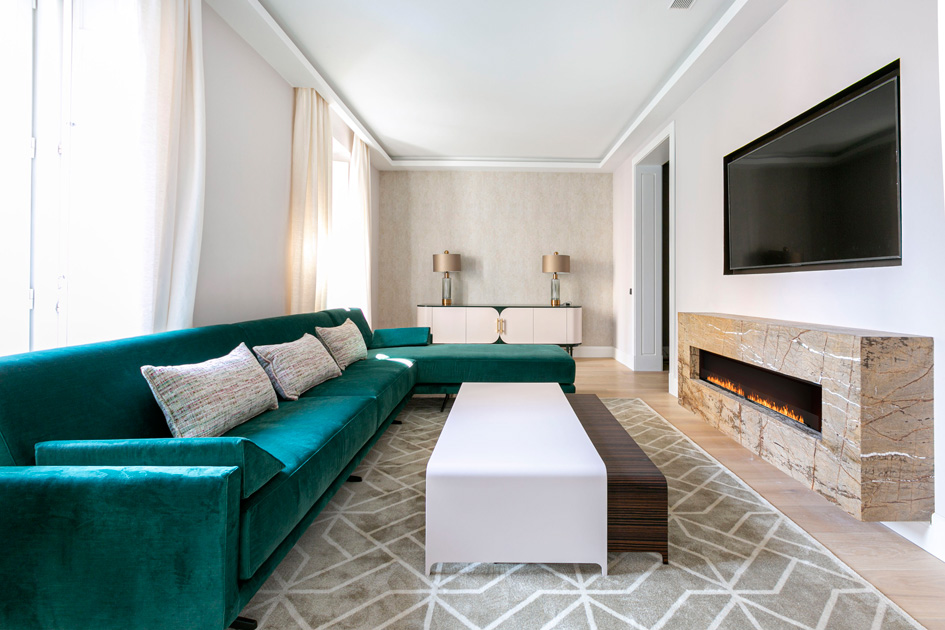
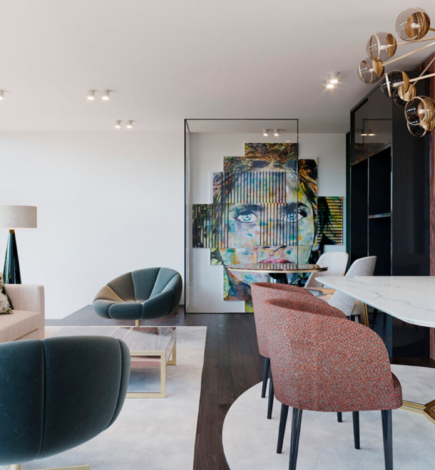
Residential project by Allegrocomodo for John Taylor, Madrid, Spain
Apart from creativity and good energy, in an interior photography session it can’t be missing a camera with exchangeable lenses where you can switch between three types of lenses: wide angle, standard and macro.
The space is small but you have a lot to show? A wide-angle 35mm or 18mm lens will allow you to capture photos of tighter spaces. However, we recommend that you take special care not to make the space bigger than it really is.
What about those details that can’t go unnoticed? By using a macro lens between 50mm and 85mm you will be able to capture all the differentiating elements of your project.
A tripod is essential in any photo shoot especially in architectural photography where you want to get crisp, clear and professional images.
Residential project by Clove Republic, Sri Lanka
The settings will always depend on the photograph and what we want to highlight in it. However, three main settings should be taken into account to get a quality interiors photograph: aperture, shutter speed and ISO.
Aperture considers how large the diaphragm makes available for light to enter the camera. The choice of aperture will determine how sharp and focused the photograph will look.
To highlight certain details of your project or to generate a blur, go for large apertures – f/1.2 af/2.8.
Generally speaking, we consider an aperture between f/3.5 – 5.6 to be enough for professional-looking shots.
Shutter speed refers to the amount of time the shutter will stay open to allow light in. A high speed (1/8000) will freeze the movements of the place you are photographing; a low speed, will add a motion effect to the photo.
In interiors photography, a speed slower than 1/30 is not recommended for wide-angle lenses and 1/125 at maximum zoom.
ISO represents the sensitivity of the camera’s image sensor to ambient light. A big advantage is that many digital cameras offer automatic adjustment of this indicator. Basically, the darker the environment, the higher the ISO has to be and vice versa. We recommend whenever possible to set it manually and not to use too high values, in order to safeguard the image quality and avoid noise.
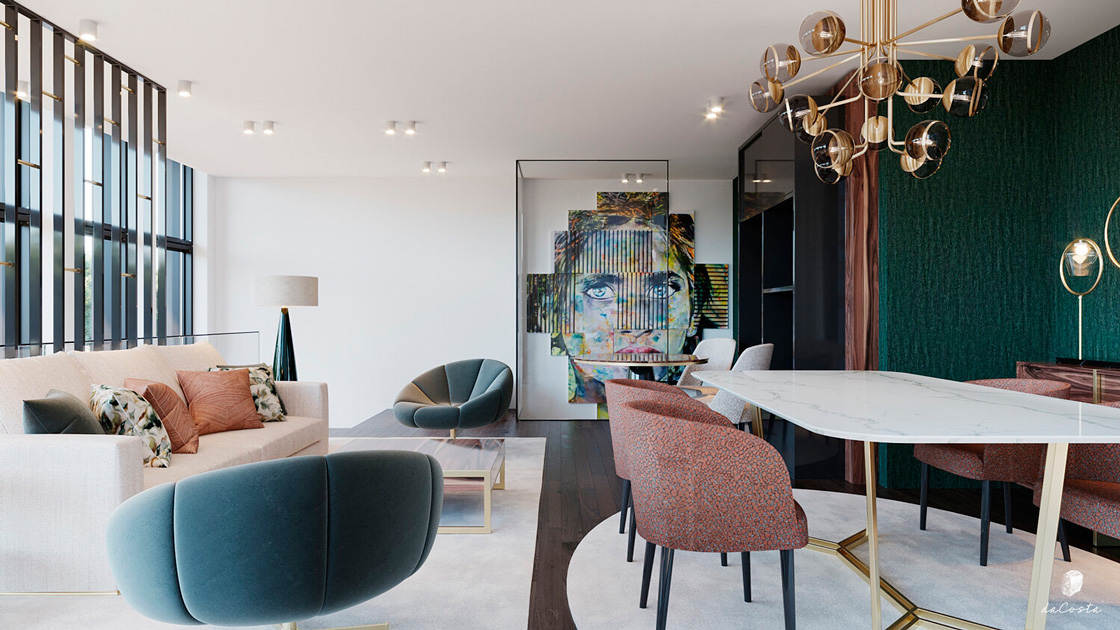
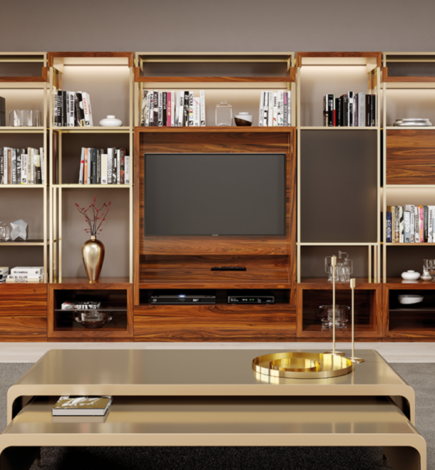
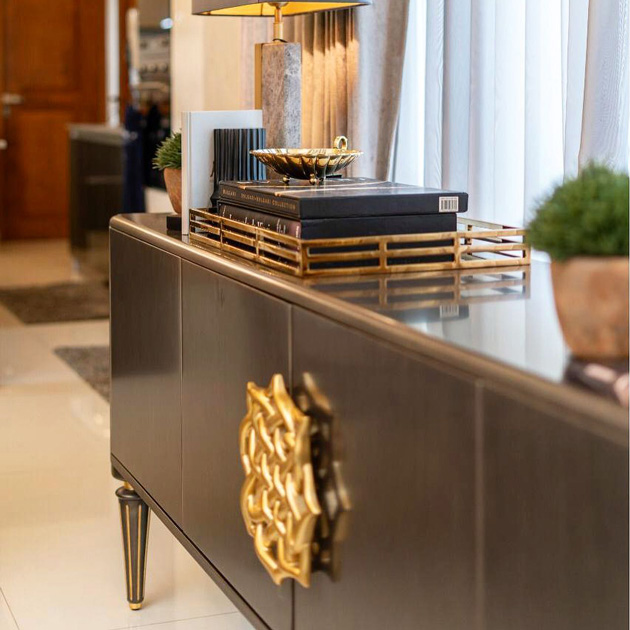
daCosta furniture boutique at, Foz do Douro, Porto, Portugal
Post-production takes on a differentiating and enriching role in the final result.
Here, your creativity comes into play and can make the difference in the final result. Remember that the more real the photo, the better. After all, your clients are looking for real projects and it is important to convey that to them.
To facilitate this post-production process it is important that the images are captured in RAW format so that, if necessary, you can easily correct small details.
We recommend two editing apps: Lightroom or Photoshop. In both you can eliminate or correct elements of your photo, edit contrast, saturation and sharpness, among others. Additionally, balancing colours is the essential trick in the editing phase of interior photography.
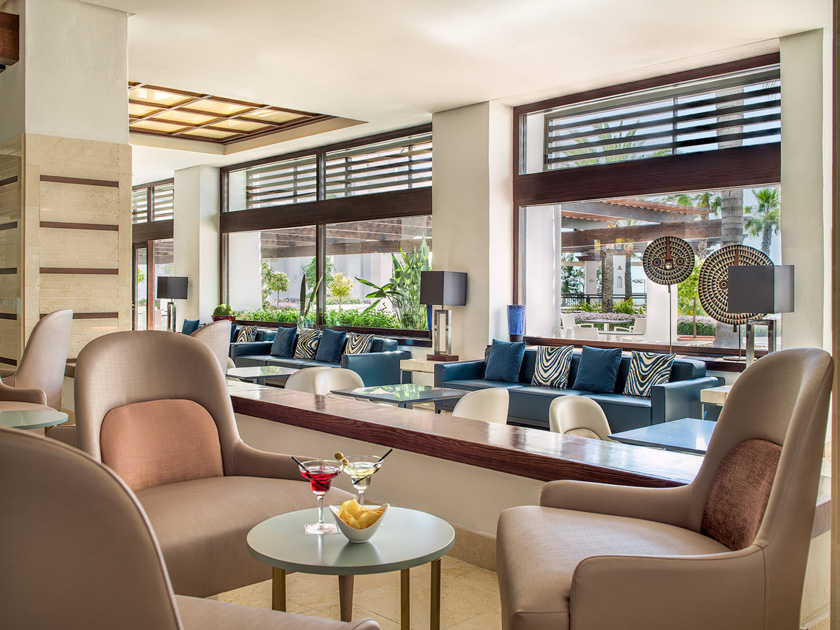
H10 Estepona Palace hotel, Estepona, Spain
We hope these tips have helped you and that you’re ready to pick up your camera and shoot your portfolio. If in addition to photography you often create interior design projects, we invite you to read our posts on how to incorporate art into your decor and some hints on choosing the right wallpaper!
Did you like this article? Then send us a message to marketing@jetclass.pt about what other topics you would like to read about on our blog.
Follow us on Instagram, Facebook ou Pinterest and get inspired by the interior design suggestions we have for you!